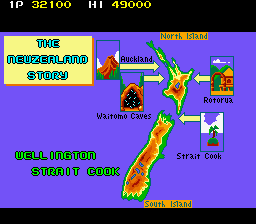
World 4 - Wellington & Strait Cook
Taito got their geography a little wrong here, as really it should've been Strait Cook (in real life Cook Strait, one of the most unpredictable bodies of water on the planet, and also the home of Pelorus Jack) followed by Wellington (in actuality the capital city of New Zealand, and one of the windiest cities in the world), seeing as Wellington is on the North Island and Cook Strait is between them. Never mind. In any case, this is a bit different from previous worlds, as it's almost entirely water-based. Hope you've gotten used to swimming around and stopping for air, because you'll be doing a lot of it here... Assuming you bother to stay, seeing as you can skip most of it in the first round! Much like Rotorua, this is a fly-over world. It also has the distinction of being the only world without a boss, instead having a fierce spike maze... That you can also skip. Ahem.
As we've moved to a new world, we'd better look at the new Heaven map too. Meet the requirements, and...
![[So, the bats that are up here... Are they the ones you've killed? They have halos too... - Ed]
Now we know where The Sorrow battle from Metal Gear Solid 3 came from.](images/tnzs/tnzsjomaph2p.png)
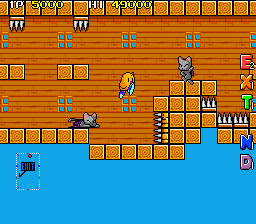
Heaven 2
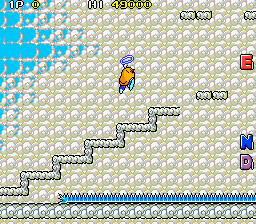
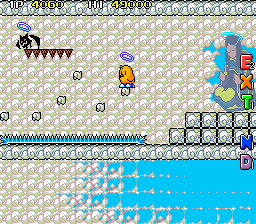
Surprisingly, this one's a lot easier than the first. The platforms are larger so you won't fall as often.
In fact, the Grim Bats don't even appear until the very end, although there's still one carrying five (!) spikes.
It's also much less of a hassle to escape from this one, as Victor Epitropou's guide reveals.
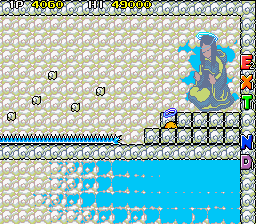
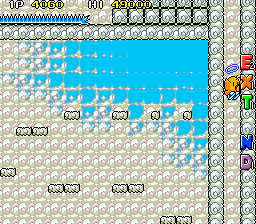
Just make your way to the end and walk through the blocks propping up the statue- they're fake!
The path leads you down a hidden shaft to escape. Continue the battle!
![[So, better or worse than the swimming section in Resident Evil 6? - Ed]
Don't even joke. Obviously better. Scuba Tiki is the best, you see.](images/tnzs/tnzsjomap41p.png)
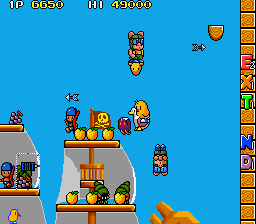
Round 4-1
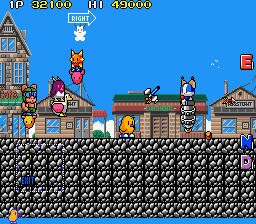
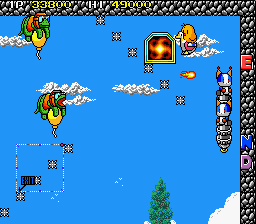
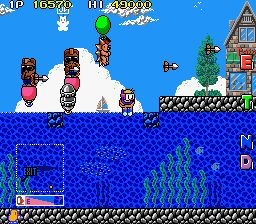
Sure is a lot of water, huh. Fortunately, this time there's two different ways to skip most of the swimming here, and the first is probably the one you're best taking. In the opening battle on the surface, you should be able to steal a Duck, so grab one and fly all the way over to the top-right corner. There's a Warp waiting for you.
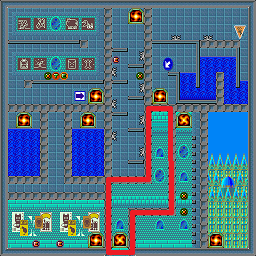
A quick trip to the Warp Round later and you'll end up in Round 4-4. No more water for the rest of the game!
As a challenge... Can you make it to the Warp at the bottom without touching the ground?
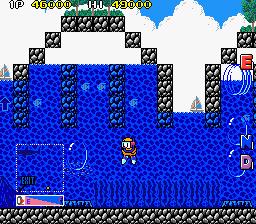
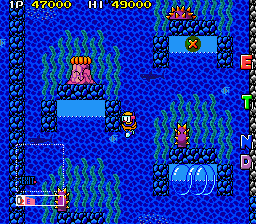
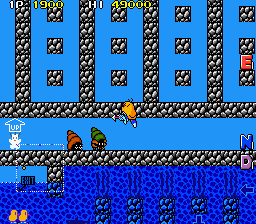
If you do decide to stick around, you'll have no choice but diving into the blue. The first stretch of water isn't too bad fortunately, as there's plenty of air pockets to take a break in and only a Mine to worry about. The second water area after that break section in the bottom-right is a bit more hazardous, with Sea Claws, Sea Sponges and Tentacle Sponges all out to get you, and gigantic bubbles spawning to shift you about and get in your way... So it's a good thing you can skip past it! If you surface in that bottom-right area, you can steal a vehicle and make your way up to the top-left, where you can just walk to the left and jump down the shaft to get to the cage. Alternatively, there's two Warps in this area that'll move you ahead, although not by much. They're hiding in the rectangles shown above, specifically the left-most and right-most rectangles.
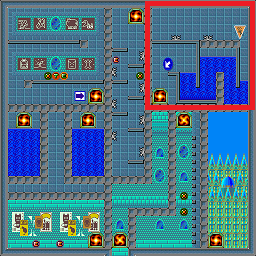
The one closest to the left border of the stage leads to the Warp Round.
No EXTEND letters this time, but take the Warp at the end and you'll be taken to the cage of 4-1.
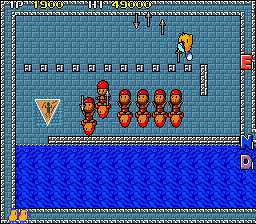
This other one has a surprisingly difficult single screen- those Spearmen can get their shots through the gaps!
At the end you'll go to a spot midway through 4-2.
![[OK then, better than Labyrinth Zone in Sonic 1? - Ed]
Are you going to compare this to every video game underwater level?
[We have a lot of captions to go, I don't see you making any suggestions.]](images/tnzs/tnzsjomap42p.png)
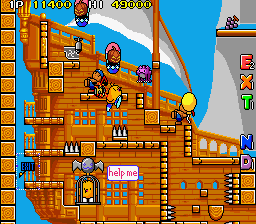
Round 4-2
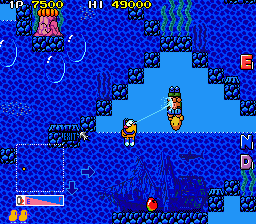
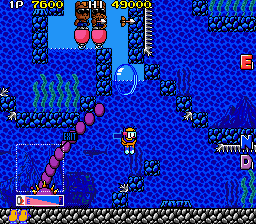
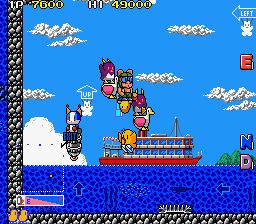
If you decided to skip the Warp and go through the whole world, then welcome to the most water-filled round in the entire game. No other way past it, you start at the top on the left side, and you've got to swim all the way to the bottom then back up to the top-right side. That said, this is a bit of a break from previous rounds, as there's very little fighting to be done- the main challenge is keeping your oxygen levels healthy and avoiding the Sea Claws, Mines and Tentacle Sponges. There's also more gigantic bubbles to send you off-course, but other than that you can take a little breather, kind-of! You'll have to pass through an open area that's your only real bit of combat outside the starting and ending sections here (if you warped from 4-1, this is where you'll start), but if you're not in the mood for a fight, you can skip it- you can jump through the wall straight to the next swimming section, just catch your breath before you go ahead! Enjoy the sea air and the rest while you can, the end of the game is just around the corner...
![[... OK, I've run out of underwater stages to compare it to. - Ed]
Got tired of that gimmick just in time.](images/tnzs/tnzsjomap43p.png)
Round 4-3
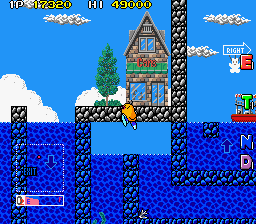
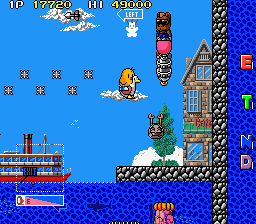
This round's a little more complicated than the last one, even if there's a bit less water, as you've got a few routes to choose from. Starting underwater for once, you can either go up and to the right via the platforms or steal a vehicle and head up and to the left. There's a lot of dead ends, though- most of the shafts above you lead nowhere, going left in the upper-left corner leads you to a body of water you can't continue from, and so on. Even though there's a dead end up there, up and to the left is the way to go- just turn right once you get into that alcove, and you'll be able to jump into the leftmots body of water and swim your way to the end. Up and to the right at the start is a bit more straightforward, but you'll have to fight more enemies, including Mr. Wakelin in the top-right, and let's face it, you don't want to fight an enemy who can spawn any old thing into the fray, right? Just be careful swimming down to the cage area- there's a Mine hanging around one of the thin shafts, and the big air pocket to the right will spawn a Mr. Needlemouse. In the final segment, you'll meet the last new enemy of the game, Stone Hands, a strange little creature who'll jump up and try to latch onto your vehicle and drag it down. He'll be making just a few more appearances in the game, so blink and you'll miss 'im.
![[... I see. No more water? - Ed]
No more water. No more Scuba Tiki. I am deeply saddened.](images/tnzs/tnzsjomap44ap.png)
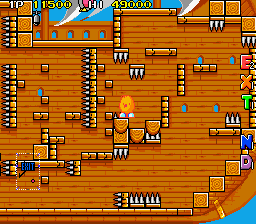
Round 4-4
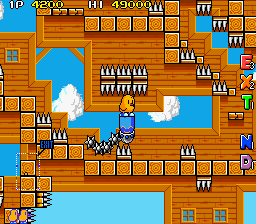
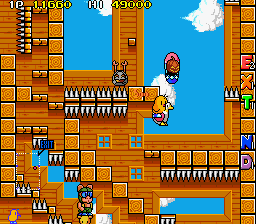
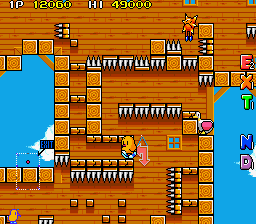
Suddenly, we're out the drink, and oh God spikes everywhere send help.
The final round of this world is split into two parts, and both are absolutely vicious spike mazes, by far the most dangerous in the entire game. Bet you're wishing you were back in the sea, eh? This opening area has a couple of different paths through it, but some are very obviously less viable than others. At the start, for instance, you can go to the right or it looks like you can go straight up. You can't really, though, as the arrangement of spikes is too narrow for Tiki to manoeuvre through without destroying his vehicle or dying. Similarly, once you go up and to the left, there's an absolutely lethal staircase that's technically the faster way, but you'll just lose a life attempting it, so keep going right and move past it. The only other bit of advice for you here is where that left / down sign is- walk off the platform above it then immediately reverse direction to skip past a dangerous spike section. Oh, and halfway through you'll find a Screamer, but don't take his vehicle, you'll never park the thing! Especially if the Stone Hands finds you. Aside from that, just be careful and you should find yourself at the barrel at the end.
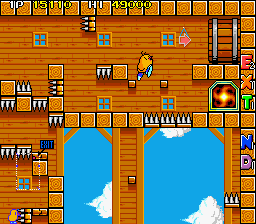
Either go in the barrel, or shoot the gap below it to find a Warp!
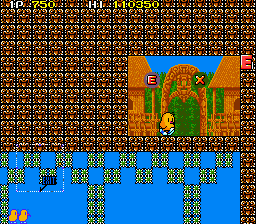
It takes you to this otherwise-inaccessible part of Round 2-4- told you we'd come back here!
You'll then move on to the next section of 4-4. May as well take it.
![[Ah, I see Tiki is in Hell now. - Ed]
This game runs the full spectrum of the afterlife experience.](images/tnzs/tnzsjomap44bp.png)
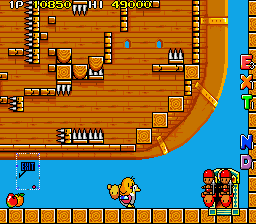
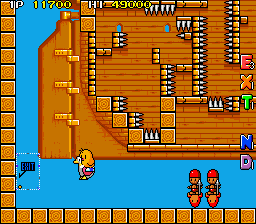
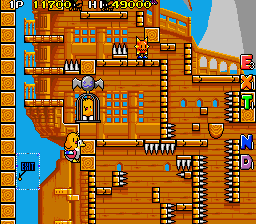
As for the boss of World 4, there isn't one. Instead, you have to deal with the Pirate Ship, another hazardous spike maze.

Before you get there, you need to get through this spike-filled corridor that also spawns Winged Cats- take them out before proceeding!


Now, as you can see, the Pirate Ship is very dangerous. There's a whole slew of enemies on the deck and an absolutely fiendish set of spikes and traps inside the ship itself, including falling platforms and parts where you have to stand on the side of spikes themselves. It's a nightmare, as you can see. The other thing is you really don't want to get a Game Over here- for whatever reason, if you do you must restart from the beginning of the previous area! No other round in this world does that, so it seems especially mean.
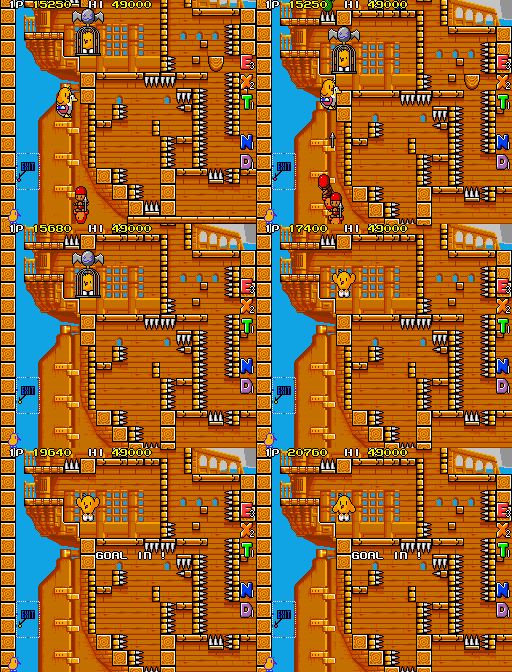
So, nuts to that, let's skip it. As detailed by Victor Epitropou's guide, you can glitch past it!


Make your way to the lower-right corner, grab a vehicle and lure one of the Spearmen over to the left.

Position yourself here, and let them hit you with their spear, and...

You'll die, but as you jump up and hit the cage, you'll get credit for clearing the level!
You also won't lose a life this way, so it's win-win! Isn't that handy?
(You can do this trick on any round that has the cage above a platform like this... Including the final round!)
Bit of an anti-climax, isn't it? The journey concludes in Hanmer Springs and Mount Cook...


![[So, the bats that are up here... Are they the ones you've killed? They have halos too... - Ed]
Now we know where The Sorrow battle from Metal Gear Solid 3 came from.](images/tnzs/tnzsjomaph2p.png)


![[So, better or worse than the swimming section in Resident Evil 6? - Ed]
Don't even joke. Obviously better. Scuba Tiki is the best, you see.](images/tnzs/tnzsjomap41p.png)


![[OK then, better than Labyrinth Zone in Sonic 1? - Ed]
Are you going to compare this to every video game underwater level?
[We have a lot of captions to go, I don't see you making any suggestions.]](images/tnzs/tnzsjomap42p.png)


![[... OK, I've run out of underwater stages to compare it to. - Ed]
Got tired of that gimmick just in time.](images/tnzs/tnzsjomap43p.png)


![[... I see. No more water? - Ed]
No more water. No more Scuba Tiki. I am deeply saddened.](images/tnzs/tnzsjomap44ap.png)


![[Ah, I see Tiki is in Hell now. - Ed]
This game runs the full spectrum of the afterlife experience.](images/tnzs/tnzsjomap44bp.png)
