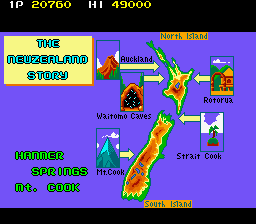
World 5 - Hanmer Springs & Mt. Cook
Up to this point, The NewZealand Story hasn't had any fire or ice levels, so the final world smashes them together, with the first two being set in Hanmer Springs- in the real world a small town on the South Island famous for its hot springs that has less than 1000 residents- and the final two being set in Mt. Cook- the highest mountain in New Zealand, part of the Southern Alps and is generally regarded as being pretty lethal for would-be climbers. Hot and cold, together at last! These present your fiercest challenge, with the final two rounds in particular being nasty- they have no checkpoints. You're so close to finishing your journey though, so don't give up now!
This also means we have our final Heaven round, and Heaven 3 is the roughest yet.
(You can also get here by meeting the requirements in a Warp Round, such as the one in Round 2-4).
![[This game has made me question a lot about the afterlife. - Ed]
Sounds about right.](images/tnzs/tnzsjomaph3p.png)
Heaven 3
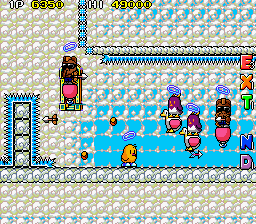
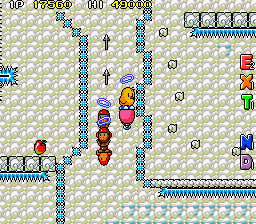
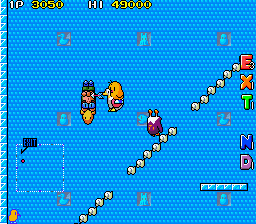
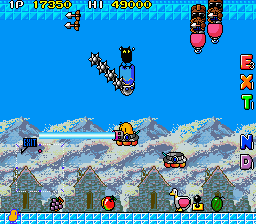
In the previous Heaven maps, only Grim Bats would appear, but now it's the fight of your afterlife as a whole bunch of enemies, including Bobs, Cool Bobs, Penguins, Axe Cats and Spearmen- all with their own halos, of course- join the battle. Are they trying to tug at your conscience, making you feel guilty for so casually offing them in the underworld? There's no time to dwell on that, just get out of here! The main area of worry here is the the shaft that leads down after the cross-shaped spike formation- Spearmen will spawn from below you as you descend, ad they can catch you completely by surprise. Your best bet is to ignore the Duck earlier in the round (tempting as it is) and go for a Cool Bob's Power Balloon so you can take a hit if necessary and move past them, and more importantly keep to the right as you descend the shaft. When you're in the final area, how do you escape? Once more, we defer to Victor Epitropou's mastery of the game to discover the secret.
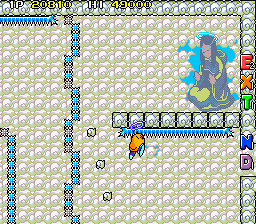
Normally, enemies don't spawn in this final area, but they will if you jump for the mismatched cloud tile below the spikes.
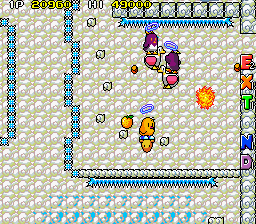
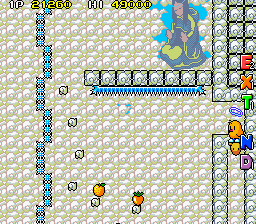
Grab a vehicle and head for the shaft to the right. Escape is yours!
![Those faces in the wall are a bit menacing.
[Guess they're greeting you to the final world. WELCOME TO HELL, TIKI. - Ed]](images/tnzs/tnzsjomap51p.png)
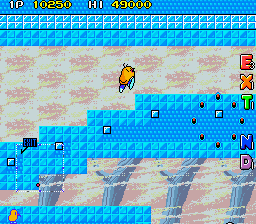
Round 5-1
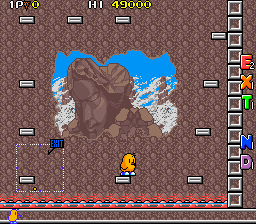
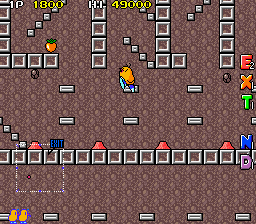
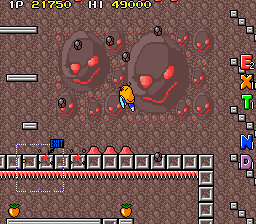
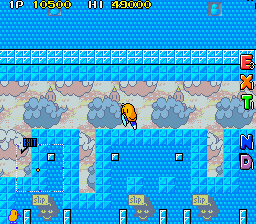
Hope you like lava, Frankies and projectile-spewing turrets everywhere, that's what Hanmer Springs is all about (probably not in real life though, I'm sure). In fact, the round starts with two Frankies spawning at the top of the staircase right in front of you! This sets the tone for the Hanmer Springs stages, with a lot of ground combat with Frankies and considerably less aerial battle time. In any case, the first area starts with a huge lava pit and precarious platforms dotted above it- the lower route seems like you shouldn't be able to make that jump in front of the background statue, but you can if you climb up and flap on your way down, and Winged Cats and Grim Bats guard the upper route. Once you're out of there, you have to deal with cannons! These are upgraded from World 2, with much larger shots. You need to avoid their shots and pick the correct shaft to ascend (most lead you back where you came from), but once you pick it out (fourth from the left) you'll have to deal with cannons on both the floor and ceiling in the next room. If you don't scroll the ceiling cannons on-screen, they won't bother you, so be sure to exploit that!
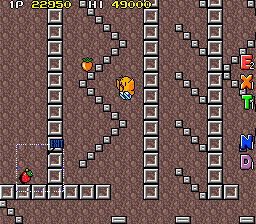
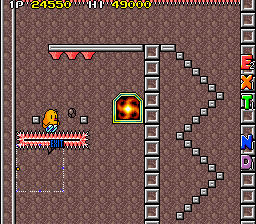
Or if you take the second-to-last shaft and make your way around, you can find the Warp...
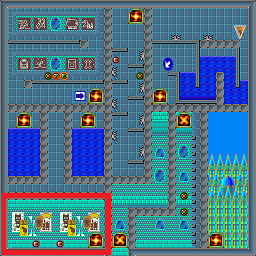
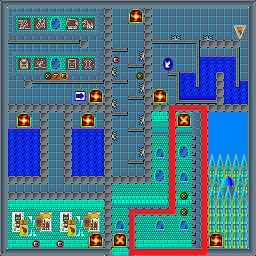
... Which leads to two trips to the Warp Round- first in the corner for two red Es, then to the right for two Xs.
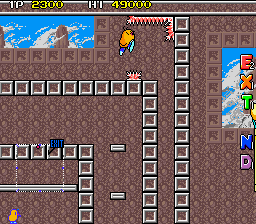
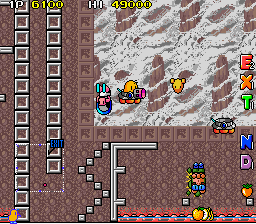
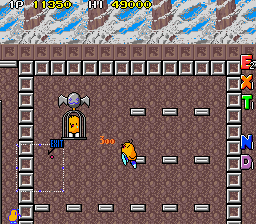
You'll eventually end up at the top of the map that leads all the way down to a huge open area (watch out for the jump beforehand, don't hit the spikes on the ceiling!), and until the very last area, this is the final all-out brawl you'll have to face. All sorts of enemies show up here, including Mr. Wakelin's Zeppelin, a Screamer, loads of Spearmen, Axe Cats and Cool Bobs. Luckily you can get a head start- a Penguin spawns as you approach the edge of the platform if you jump straight up, so steal its Duck and move to the right to make some Astronauts show up. Grab their Laser UFO (you'll have to lure them over, so don't get fried) and just gun it to the area at the top, preferably from the right (approach from the left and you'll spawn two Mr. Needlemouse enemies, which you probably don't want to do). Once inside, there's only some Toy Soldiers to bother you, so just head for the cage and you're done.
![Ooh, this one's got some nice murals.
[I like the Penrose stairs. Hey, we're nearly done with this, aren't we? - Ed]
We are, actually.](images/tnzs/tnzsjomap52p.png)
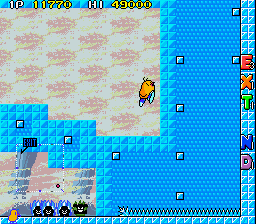
Round 5-2
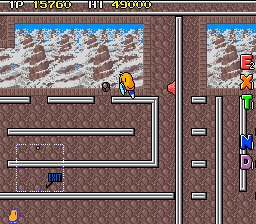
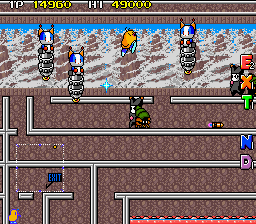
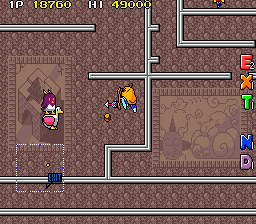
Probably the most intricate maze in the whole game, Round 5-2 is a bit of a long one. It's also my least favourite round in the game because it's a wee bit long and there's not much variety going on- just lava pits, the occasional cannon here and there, and until the very end you're only fighting Frankies. On the plus side at least, this has some neat background murals such as a fire being, the sun and clouds, and a cutesy adaptation of the Penrose stairs made famous by M. C. Escher's rendition of them. Sadly, aside from the fire being, you have to go out of your way to see them. Oh dear. Anyway, the first half is pretty standard as far as mazes go, with plenty of dead ends and the odd cannon here and there to spice things up. The main threats to watch out for are Frankies jumping between floors, the Mr. Wakelin in the upper-right you'll only meet if you get lost and the lower section where the sun and Penrose stairs murals are- you can fall down here and have to steal a Duck to carry on.
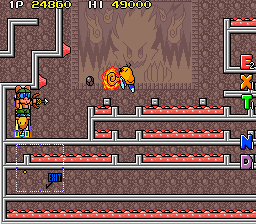
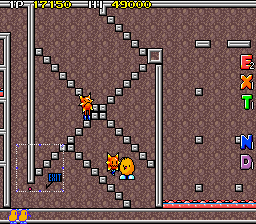
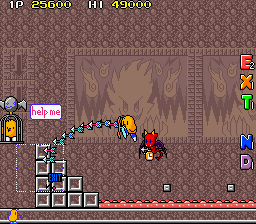
The lower half of the round is a bit more interesting although there's still plenty of dead ends, mostly the left side where there's a whole load of lava pits you can get stuck around and the long platforms to the right full of tempting melons that, inevitably, lead nowhere. This also has some nasty sections of jumping between blocks filled with Frankies, especially the criss-crossing staircases where the Frankies can jump from one side to the other to catch you out! At least the cage isn't a big problem- a Penguin spawns once you enter the area, so steal its ride and we're out the hot springs for now.
![[This game really was made for maze game fans. - Ed]
Sure was. This is the penultimate map, by the way.](images/tnzs/tnzsjomap53p.png)
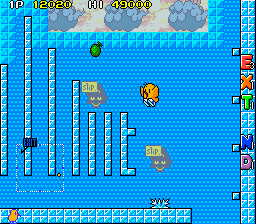
Round 5-3
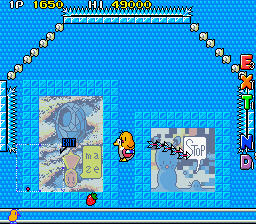
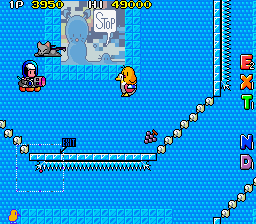
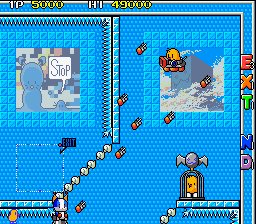
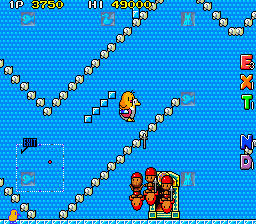
The action shifts to Mt. Cook now, with the volcano motif being dumped in favour of ice. This means the ground is now slippery and Tiki will continue to move even after you let go of the control stick, but you can stay in place by jumping straight up- he won't maintain his momentum in the air but will continue to slide when you land, so use this to give yourself a moment to think. With the change of environment comes one final change to the game, an especially cruel one- there are no more checkpoints and dying sends you back to the start of the round, no matter how far you got. This is a classic Taito dick move, although it could've been worse, it doesn't disable continues like in Rastan or lock you into a bad ending like Operation Thunderbolt and S.C.I. - Special Criminal Investigation. It at least makes sense for Round 5-3, as it's a big aerial maze, but Round 5-4 not having checkpoints is just cruel.
Back to the task at hand, this is just one massive maze with multiple dead-ends and basically every airborne enemy hunting you down. Luckily a Penguin spawns near the start, so you've got a decent ride for most of it... But if you want an easier time of things, head to the very centre of the round. You'll know you're in the right area when a Winged Cat and the final Stone Hands spawn, just wait around and two Astronauts will show up. Steal their Laser UFO and you'll have no trouble making your way through the maze. Just watch out for Mr. Needlemouse and Grim Bats as they're the ones that will kill you with the least effort. To be honest, even if you don't have our map, the game helpfully ells you to STOP when you reach a dead end, so that's not too bad!
![This is it, the final battle!
[And so Tiki's journey comes to an end. - Ed]
As does ours.
[So it does.]
Thanks for sticking around.
[Eh, whatever.]](images/tnzs/tnzsjomap54p.png)
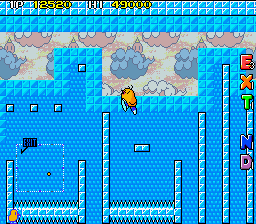
Round 5-4
This is the final battle. Are you ready? Four floors of fear stand between you and Azarashi.
Let's go!


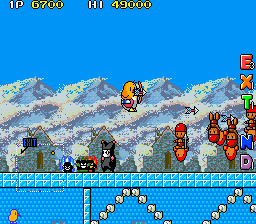
We'll tackle each floor individually, as each one has a couple of important tips and tricks that'll help you survive- remember, you have to make it a clean run, as there's no checkpoints from here on out. The first trial is a series of teeny-tiny ice platforms over a spike pit and a fiendishly-placed B. B. Hoofer. As long as you're jumping you won't feel the effects of the slippery ice, but you may have to abruptly turn around- if B. B. Hoofer's cannonball has any bullets in it (you can tell by its appearance, it'll be blank if it won't fire any) you'll have to turn around immediately otherwise you'll jump right into the bullets. Luckily you should have enough momentum to turn on a block and jump back, then turn again, but this'll take a bit of practice. Most of the time it'll be an empty cannonball though, at least, but if you fall, you'll have to march back, using the blocks above the spike pit to try again. At least once you do make it, it's not too rough- just keep queueing up jumps on the vertical blocks and you won't slip around.


The next floor is more precision jumping over spike pits and on ice! Take out the lone Frankie before you carry on and make your way onto the thin platforms and start hopping. The trick here is to stick to the higher, smaller platforms for as long as you can, it's a lot safer. When the higher platforms stop (your visual clue is the J-shaped pattern on the background wall), you can just walk down to the lower ones and make your way across from there (there's some other higher-up platforms but they won't really help you). Again, queueing up your jumps, moving without stopping, and getting used to how momentum works on the ice is the key to success, as well as staying on your toes- Grim Bats and Winged Cats can sometimes spawn here. Once you reach the end, some stationary jumps (let go of the control stick!) will see you to the next floor- if you like, you can bounce off the wall on the second block there, then jump straight up so you don't have to mess with that third block to the right. This is the kind of tech that gets you through this final battle alive.


Third floor! You get a break from spikes for now, but instead you've got to fight a selection of enemies with cloud platforms dotted about. These did show up in the last round, but they were mostly a non-factor, serving to block different parts of the maze. Here, you'll probably bump into them for the first time and find out they bounce you about, a lot. If you're on foot, you'll bump up a bit off the ground, but in a vehicle they can either only lightly move you or send you flying depending on how you hit them. This affects enemies too so they're going to be all over the shop! Luckily it's a short area and starts with a Bob and a Penguin spawning, so you can grab a Duck early. You'll have to lure them so you don't get hit- try hiding under the first staircase of cloud blocks, then jumping in after the Penguin throws a rock to get the jump on them- but as soon as you do, you're almost home free... Just watch out for the Spearmen when you have to descend near the end, they can catch you out if you're not careful.


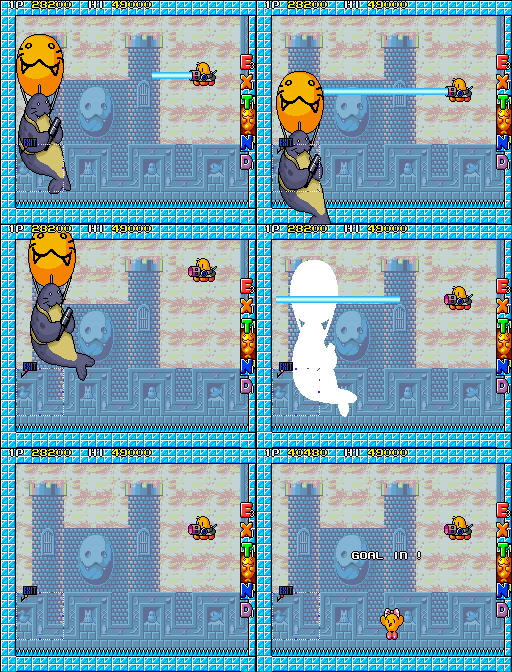
OK, it's the last stretch, keep going! This is the final fight, an open area where everything is out for blood. Your blood. On the one hand, you could hoof it straight to the end, but what you're best doing is advancing a little, fighting past the Spearmen, Mr. Wakelin, Germs and B. B. Hoofer that appear early on. Once you've seen those enemies in roughly that order, the next enemies to spawn as you move forward will be some Spearmen and an Astronaut, so steal the Laser UFO and head to the boss room- no waiting, no dilly-dallying. This will make the final boss immeasurably easier, so it's worth the effort. The only reason you'd want to skip this is if you already have a Laser Gun and think you can take the boss with just that- doable, but the Laser UFO is extra insurance, and you really don't want to die at this last moment!

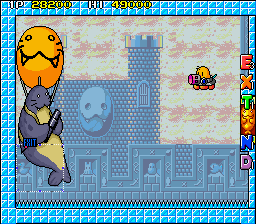
Here he is, then, Azarashi, the final boss. Hanging from his balloon, he'll fire cannon shots at you while slowly advancing.
... What's that? You think we should say more about this final battle?

Well, as you can see, he's all talk and no trousers. This is why you got the Laser UFO.
We do love an anti-climax here at Gaming Hell though!

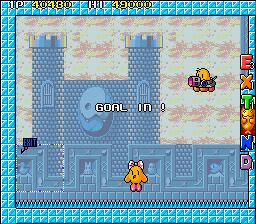
With Phee-Phee saved, the adventure has come to an end.
And now time for one of my all-time favourite arcade game endings.


![[This game has made me question a lot about the afterlife. - Ed]
Sounds about right.](images/tnzs/tnzsjomaph3p.png)


![Those faces in the wall are a bit menacing.
[Guess they're greeting you to the final world. WELCOME TO HELL, TIKI. - Ed]](images/tnzs/tnzsjomap51p.png)


![Ooh, this one's got some nice murals.
[I like the Penrose stairs. Hey, we're nearly done with this, aren't we? - Ed]
We are, actually.](images/tnzs/tnzsjomap52p.png)


![[This game really was made for maze game fans. - Ed]
Sure was. This is the penultimate map, by the way.](images/tnzs/tnzsjomap53p.png)


![This is it, the final battle!
[And so Tiki's journey comes to an end. - Ed]
As does ours.
[So it does.]
Thanks for sticking around.
[Eh, whatever.]](images/tnzs/tnzsjomap54p.png)
